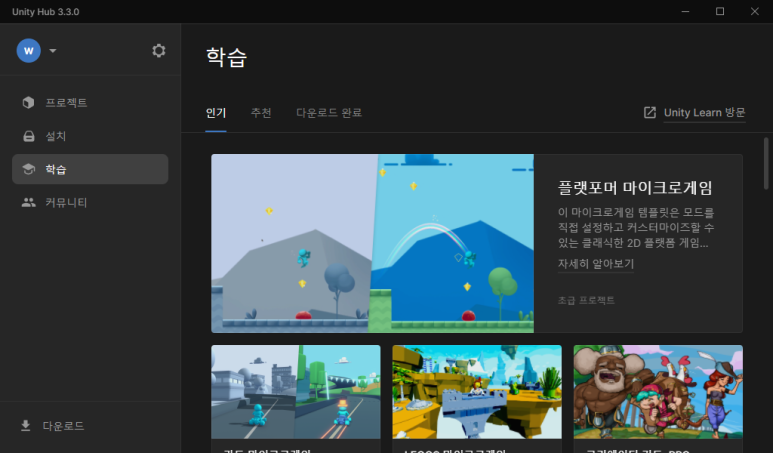
유니티 허브에서 "학습"탭으로 이동하면 보이는 인기 페이지에 "플랫포머 마이크로게임"항목이 있습니다. 궁금해서 한 번 실행해서 분석 해봤습니다. 먼저 실행해서 구동해본 모습.
키보드 좌,우 방향키로 이동하고, 스페이스바 입력으로 점프할 수 있는 간단한 조작이 구현되어있고, 플레이어와의 충돌체크로 획득 가능한 아이템과 적(슬라임)들이 등장합니다.


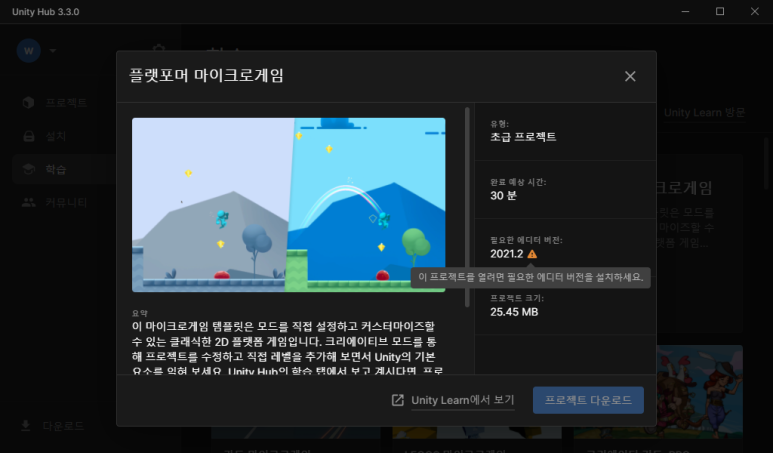
이 플랫포머 마이크로게임은 허브를 통해서 설치하고 실행해볼 수 있는데, 바로 항목을 눌러보면 조건이 좀 필요합니다. Unity 2021.2.X 버전이 필요한 것. 이미 2021.2 버전이 설치돼있다면 바로 열어볼 수 있지만, 설치되어있지 않다면 유니티 에디터 아카이브에서 다운로드를 받아 설치해야 합니다.

위 화면에서 진행할 수 없는 상황. 유니티 허브의 "설치"페이지로 이동합니다. "아카이브"탭을 찾아서 클릭하면 유니티 웹사이트의 아카이브 페이지로 이동할 수 있습니다. 하단의 링크를 타고 바로 이동할 수도 있어요.

https://unity3d.com/kr/get-unity/download/archive
Get Unity - Download Archive - Unity
Unity is the ultimate game development platform. Use Unity to build high-quality 3D and 2D games, deploy them across mobile, desktop, VR/AR, consoles or the Web, and connect with loyal and enthusiastic players and customers.
unity3d.com

위 아카이브 페이지에서 2021.2 버전 중 가장 최신버전인 Unity 2021.2.19 버전을 설치하면 됩니다. 이 때 Unity Hub 버튼을 클릭하면 허브에서 바로 설치 창을 열 수 있습니다. 샘플을 구동해보고 분석할 예정이니 모듈은 아무것도 추가하지 않아도 좋습니다.


설치 진행 중... 다운로드 받고 설치까지 마치려면 시간이 좀 걸립니다. 다른 일을 하면서 기다립니다.
설치가 끝나면 다시 "학습"페이지에서 "플랫포머 마이크로게임"을 클릭합니다. 이제 아까와 다르게 "프로젝트 다운로드"버튼이 활성화 되어있습니다. 클릭해서 다운로드를 마치면 "열기"버튼으로 바뀌는데, 이 때 열기 버튼을 클릭하면 유니티 에디터가 로딩되면서 프로젝트 초기화 처리를 하게 됩니다. 이 때 Retry 나 Continue 버튼 입력 요구 팝업이 뜰 수 있으니 진행해줍니다.


유니티 에디터가 열리면 가장 먼저 보여지는 다이얼로그 창. 간단한 설명들이 나오는데 "Load Tutorials"는 다른 방식으로도 진행할 수 있으니 우선 "Load Scene"을 클릭합니다.


우측 Tutorials 탭에 보이는 각 버튼들을 클릭하면 해당 튜토리얼들을 따라해볼 수 있습니다. 상호작용을 통해 미션 달성하듯 진행할 수 있게 만들어 두어서 하나하나 따라해보기 좋습니다. 초심자용으로 제작된 튜토리얼이라 아주 쉬운 편.

플레이어 조작 방식에 대한 처리는 Hierarchy 탭의 Player 오브젝트에 붙어있는 PlayerController 스크립트를 열면 확인해볼 수 있습니다. 어떤 방식으로 처리했는지 분석은 코드를 통해서 진행하게 됩니다.

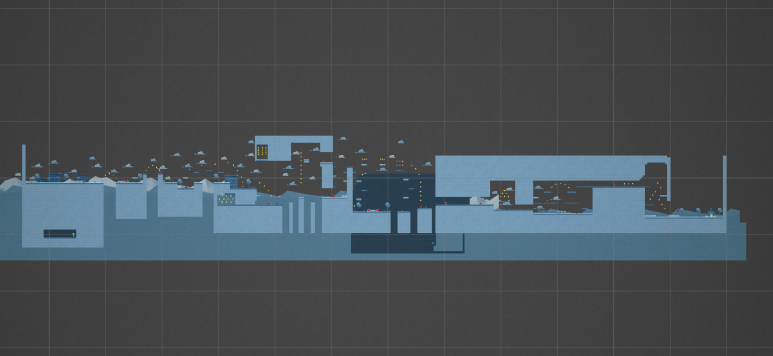
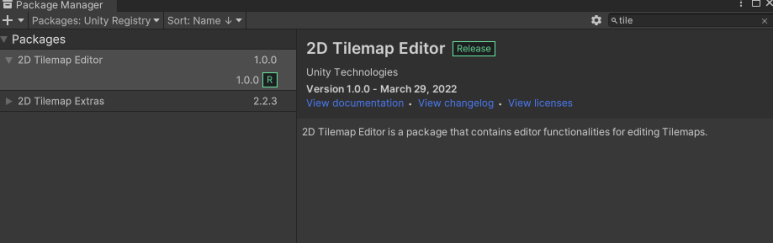
이 샘플 게임 프로젝트의 맵은 타일맵으로 제작되어 있는데, 맵을 수정하려면 Package Manager 를 통해 Tilemap Editor 패키지를 설치해야 합니다. Window > Package Manager 를 열고, Unity Registry 패키지에서 Tilemap 을 검색한 뒤 Tilemap Editor 를 설치해줍니다.
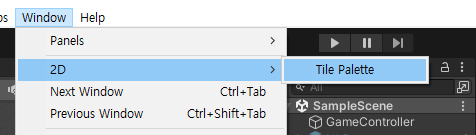
Tilemap Editor 패키지를 설치하면, 상단 메뉴에 Window > 2D > Tile Palette 메뉴가 추가됩니다. 클릭하면 Tile Palette 가 열리고, 타일맵 팔레트의 아이템을 찍어서 맵을 수정할 수 있게 됩니다.

간단하게 요기까지.
'유니티 엔진 (Unity Engine)' 카테고리의 다른 글
| 90만원 상당의 게임 개발 에셋 18개를 4만원에, 유니티 에셋스토어 메가 번들 할인 시작 (0) | 2023.04.11 |
|---|---|
| Unity 에셋 참조를 Assets 폴더 하위에서 모두 찾는 방법 (0) | 2023.04.11 |
| Unity 게임을 살리는 메모리 관리와 최적화 (G-CON X IGC 오지현 에반젤리스트) (0) | 2022.11.23 |
| [Unity] 에셋스토어 에셋 구입 시 Tax Number? (0) | 2022.11.03 |
| [Unity] Component의 컨텍스트 메뉴(ContextMenu) 만들기 (0) | 2022.11.02 |
| [Unity] PlayerPref 레지스트리 저장 경로 (0) | 2022.07.26 |
| SmoothDamp 는 어떻게 구현돼있을까? (0) | 2022.05.24 |