LG 32인치 4K UHD 모니터 32UN650 게임과 그래픽 디자이너 작업용으로 구입
샀습니다. 32UN650 모니터.
지난번 어떤 모델을 살지 기준과 선택 포스팅을 했었죠. 글 하단에 링크도 걸어놨습니다. 결론적으로는 그래픽 디자인 작업도 하면서 게임도 하고 다용도로 쓸 중급 기종. 그리고 A/S 편의를 위해 LG 4K UHD 모니터를 구입했습니다.

32인치 (80cm) 3840 x 2160(4K UHD)
IPS 패널
밝은 환경에서 주로 사용하기도 하고, 시야각에 따른 색 정확도가 필요하기 때문에 VA 패널은 좀 더 저렴하지만 IPS 패널로 선택.
최대 주사율 60Hz
게임용이라면 좀 더 고주사율 모델이면 좋겠지만, 나머지 스펙을 유지하면서 주사율을 올리려면 가격이 많이 상승합니다. 그래서 적당히 타협.
색 재현율 DCI-P3 95%
통상적인 IPS 품질이면 이정도인 것 같고, 좀 더 올라가면 가격도 올라가긴 하는데, 예산을 고려해서 이정도로 만족.
단자도 나름 고려를 해야합니다.
HDMI 2.0 이상 포트가 있으면 좋겠지만, PS5 연결 외에는 용도가 애매할 것 같아서 DP 포트만 주로 활용하는 것으로 해서 최종 결정.
32UN650 4K 모니터 개봉기
집 앞에 박스로 도착했습니다. LG 설치기사님이 직접 방문하시려나 했지만 일반적인 택배로.


박스는 과하게 크지도 않고 너무 컴팩트 하지도 않은 적당한 사이즈. 개봉할 때 위/아래 구분이 필요하기 때문에 잘 보고 뜯어야 합니다. OPEN HERE 가 보이는 쪽으로 뜯으면 됩니다.
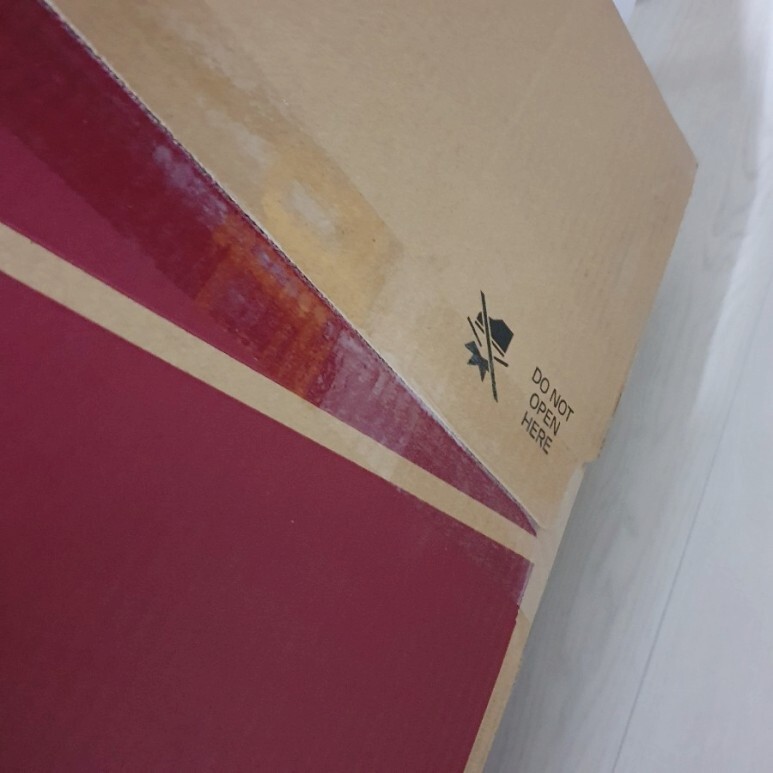
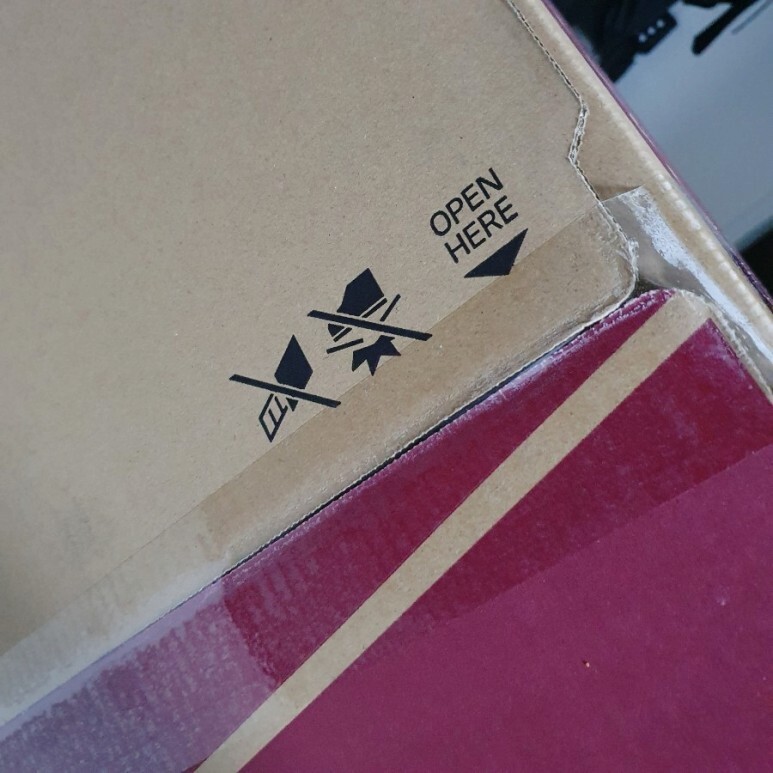
이제 개봉해봅니다. 위쪽을 열면 스탠드부터 나옵니다. 스탠드, 전원 케이블, DP, HDMI 케이블, 마지막에 모니터 본체 순서로 들어있습니다.

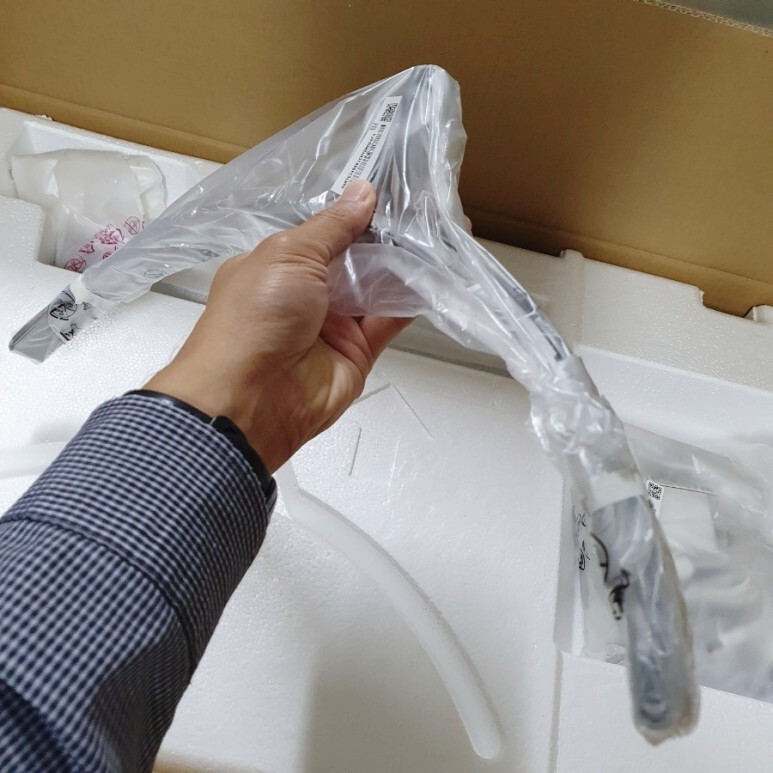


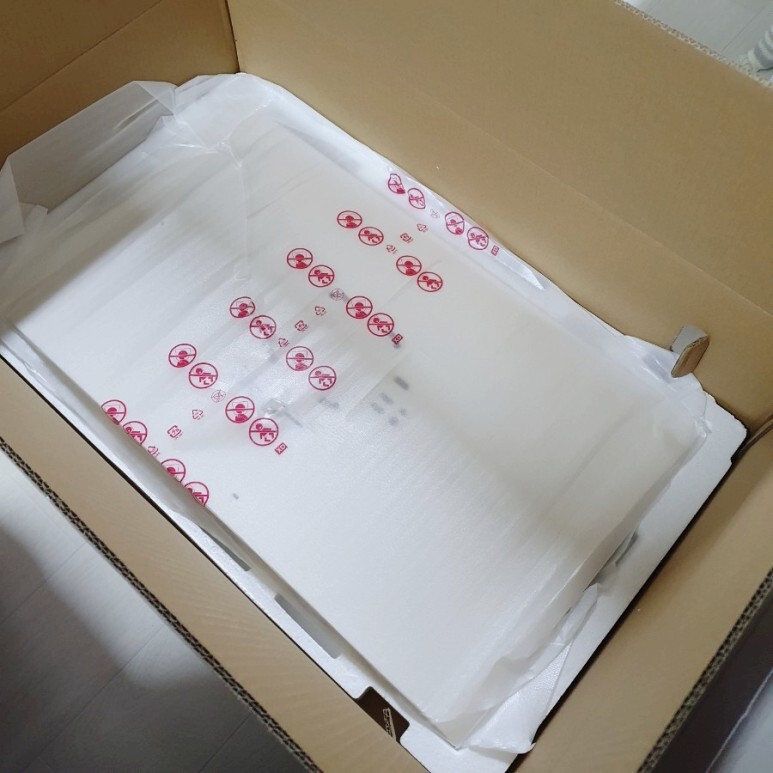
일단 모두 꺼낸 뒤 조립. 먼저 스탠드를 조립해줍니다. 스탠드는 2개 파츠로 구성돼있습니다. 바닥 부분과 기둥 부분. 결합을 해서 조여줘야 하는데, 손으로도 돌릴 수 있도록 구성돼있어서 드라이버가 추가로 필요하진 않습니다. 맨손으로 모든 설치가 끝나는 구성.


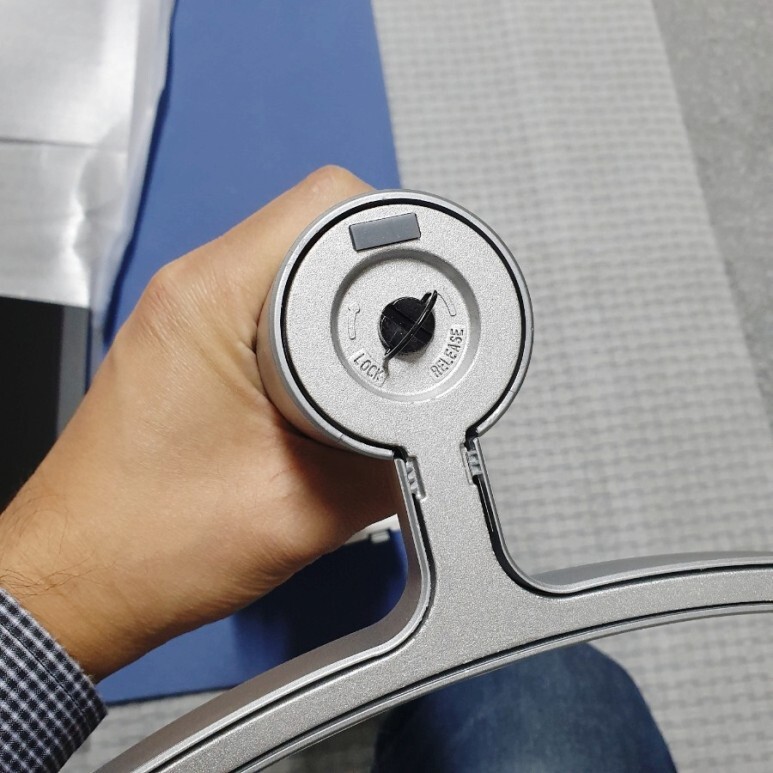
이렇게 다리 하단부의 나가 고리를 세워서 돌려서 잠궈주도록 돼있습니다.
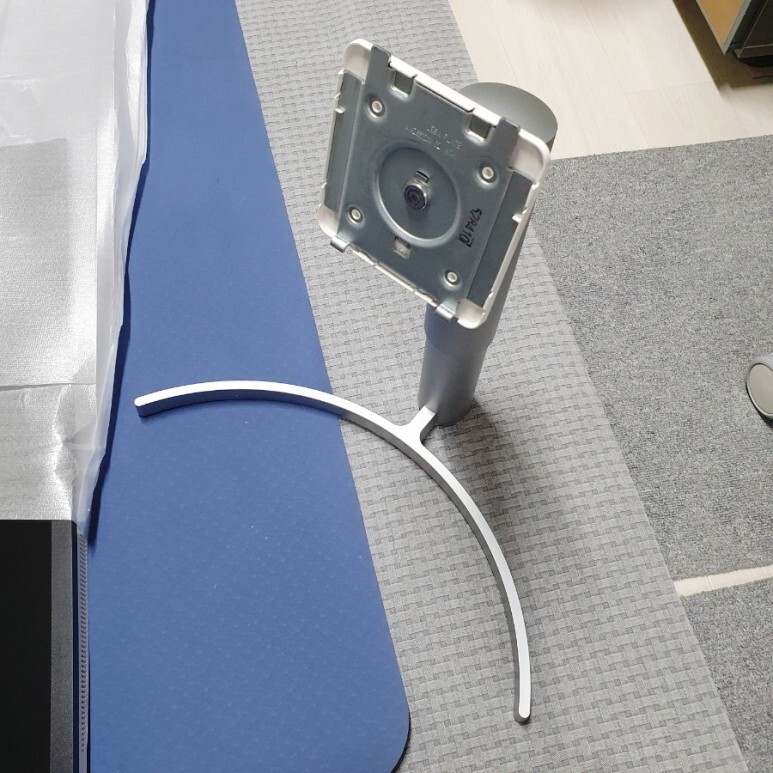
스탠드 조립 완료. 이걸 모니터 뒤에 끼워주기만 하면 됩니다.
이제 모니터 본체를 꺼내봅니다. 깨끗한 스크린.
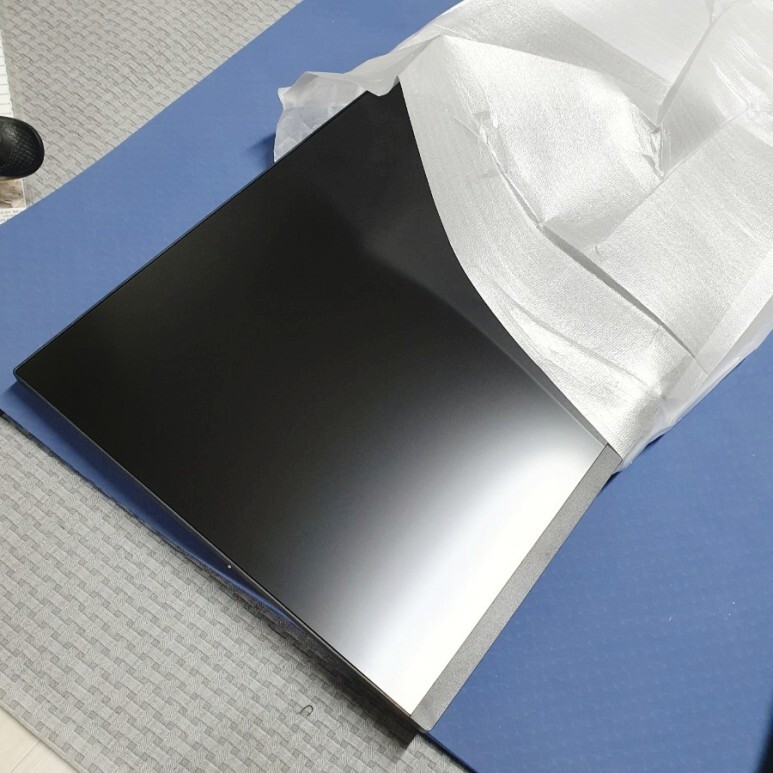
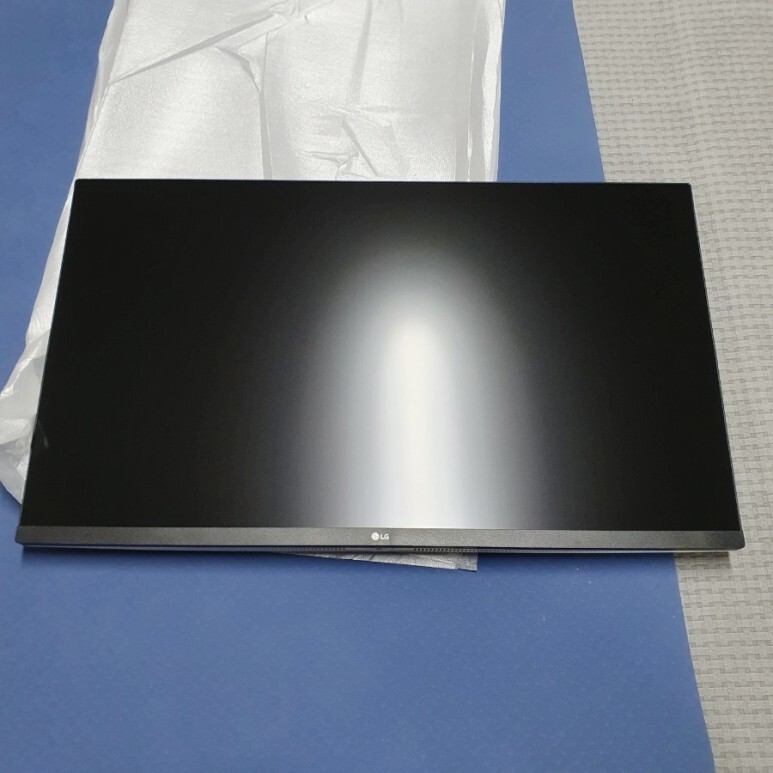
깔끔하니 불빛도 은은히 반사되는 패널. 조립을 위해 뒤집어줍니다. 모니터를 들어서 스탠드에 끼우기보다는, 모니터를 뒤집어놓고 스탠드를 들어서 끼우는 게 쉽습니다.

모니터 후면의 베사홀이 보입니다. 100 x 100 사이즈의 베사홀이고, 나중에 모니터 암 설치를 할 때는 검은 색 나사를 돌려 뺀 뒤에 베사홀에 모니터 암 헤드를 끼우면 됩니다. 지금은 스탠드를 설치할 것이니 확인만 하고 계속 조립합니다.

조립하기 전에 후면 포트도 확인 해줍니다. DP 포트 하나, HDMI 포트 2개, 헤드폰 Output 포트, 전원 포트가 보입니다.

스탠드를 들어서 끼워줍니다. 스탠드는 튼튼하지만 가벼운 재질이라 손쉽게 조립할 수 있습니다. 위쪽을 먼저 끼우고 아래쪽을 눌러주는 식으로 조립해주면 됩니다. 뺄 때는 하단의 버튼을 누른 뒤에 아래쪽을 들어올려서 빼주면 됩니다.


조립 완성. 이대로 책상 위에 올려주면 됩니다. 그 전에 연결할 케이블도 확인해봅니다. 배선도 미리 고려를 해야하니까요.

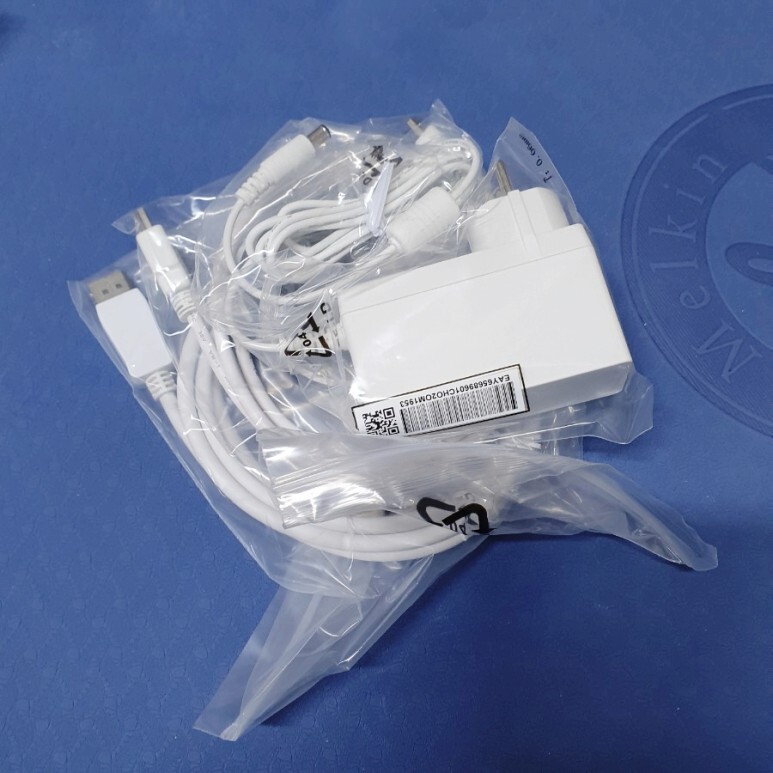
케이블은 하나의 봉투에 깔끔하게 포장되어 있습니다. 전원 어댑터 케이블 1개. DP 케이블 1개, HDMI 케이블 1개가 들어있습니다. 그리고 링같이 생간 부속품이 있는데, 이건 스탠드 기둥에 끼워서 케이블 선정리를 할 수 있도록 도와주는 부품입니다. 다 설치하고 끼워도 무관.


케이블까지 모두 확인했으니 최종 조립하고 바로 테스트.
4K UHD 화질로 보는 옵대장님. 요즘은 유튜브에서 쉽고 빠르게 4K 영상을 찾을 수 있어서 이런 화질 테스트는 편하군요. 트랜스포머 영상미는 언제 봐도 멋집니다.

아래는 모두 셋팅한 모습. HDMI 로 스위치를 연결해서 링 피트 어드벤처를 돌리는 모습. 왼쪽은 DELL 보조모니터를 세로로 돌려서 32인치 모니터와 나란히 두었습니다. 활용도 높은 구성.

이렇게 LG 4K UHD 모니터 32UN650 구입, 개봉, 설치까지 모두 끝냈습니다. 불량화소도 없고 무게도 가볍고, 화면도 널찍한데 화질은 선명하니 아주 좋네요.
제 주 모니터가 아니라 애인님 모니터를 구입해서 설치해준 것이라 저도 덩달아 뽐뿌 받는군요. 아직 32인치 QHD 모니터를 잘 쓰고 있기 때문에 구입까지는 좀 더 고려할 생각이지만 지금 사용 중인 모니터가 고장나거나 한다면 저도 32인치 4K UHD 모니터로 교체할 것 같습니다. 인치는 좀 더 키워도 될 것 같기도.
리뷰는 여기까지 마치고,
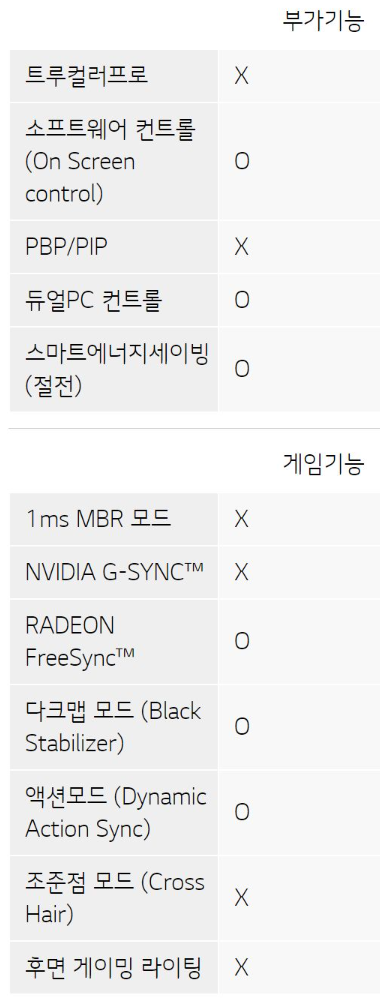
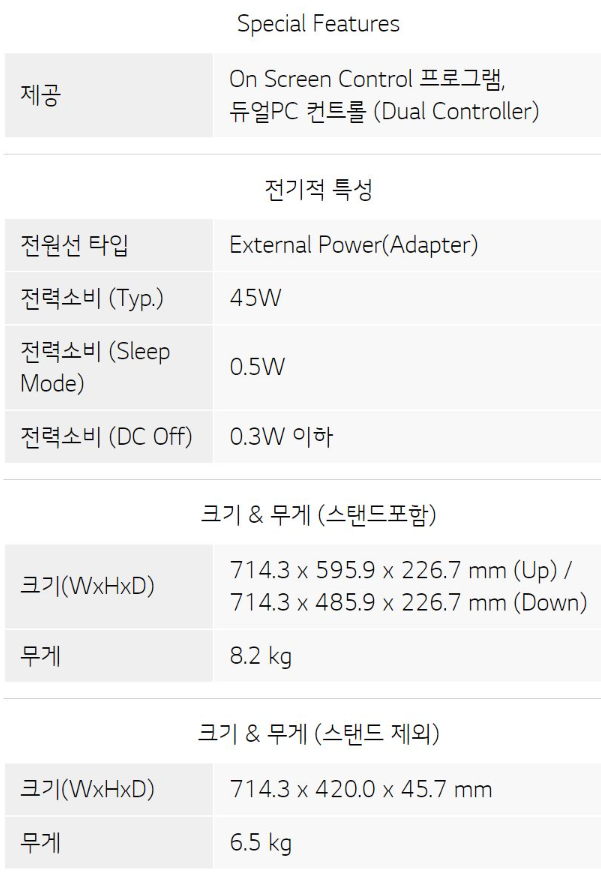
아래는 스펙 스샷들.
이미지는 클릭하면 커집니다.



LG전자 80cm UHD 4K 모니터
COUPANG
www.coupang.com
